So SCA 50 Year took over my entire life for 2 years and in that time my creating time was minimized severely (baring things like several peoples elevation clothing, making clothing for royal peeps and the Arthurian deed :P) . Now that it is over I am returning to one of my loves. The Bycocket!
Below in a much earlier blog post you can see how I started to learn how to form the woolen hat and now I wish to show folks how I have been covering them in silks, alternating wool colors and more!
Below in a much earlier blog post you can see how I started to learn how to form the woolen hat and now I wish to show folks how I have been covering them in silks, alternating wool colors and more!
Step 1 Pic 1- submerge your wool in the hottest water you can stand for about 4 minutes. Tightly shape your wool over your chosen form (I show how to make a form in a previous post.)
Step 2 Pic 2- I put in pins where I want the brim to flip up. Pull your brim up and shape that bad boy up with a pair of scissors and your hands, pulling where you need it taller, trimming where you need your wool more even.
Step 3 pic 3- Leave your hat to dry for a few hours, remove the pins (because they will leave rust if left for too long.) With pins removed let your hat dry over night.
Step 4 pic 4- So.... you want a fancy contrasting color/fabric? Here is how I go about it. You will need about a half yard or fabric. Flip your hats brim down and lay it on your double folded fabric. Trace around the entire hat leaving about a half inch seam allowance. You want this much as you will be folding the material down to make a nice edge that sews on to the brim later.
Step 5- Sew just the top seam of the material together, by hand or machine, whatever you have time for.
Step 6- press those seams! Iron them down as flat as possible. You can even tack them down so they will remain flattened, the choice is yours.
Step 7- Now put your pattern over your dry hat to see if you get a nice fit! Note- you will want the fabric to be larger then the brim as you will fold the fabric under to create a nice edge that meets the brim.
Step 8-You can sew the fabric to the top or bottom to create the look you want. Whip stitch your brim and fabric together making sure you fold over the excess seam fabric to meet the brim!
Step 9- Decorate as you see fit! Add feathers, jewels, beads or streamers! Want to see period images, check out my first post on hats!
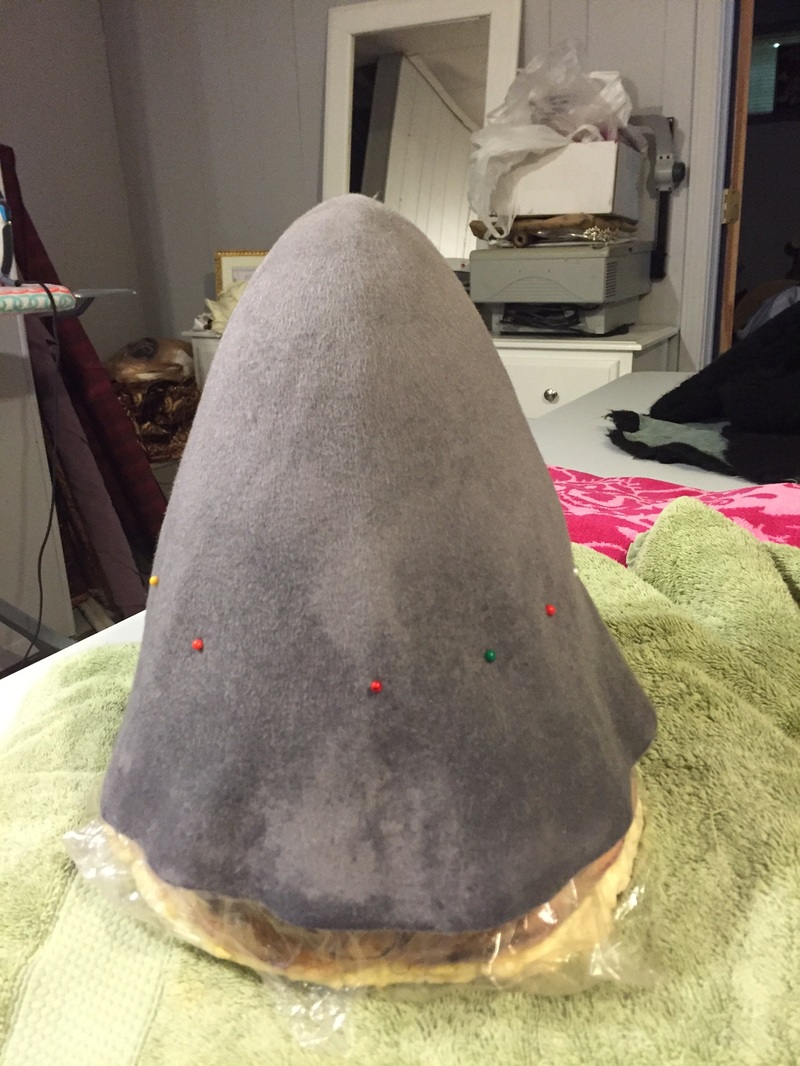
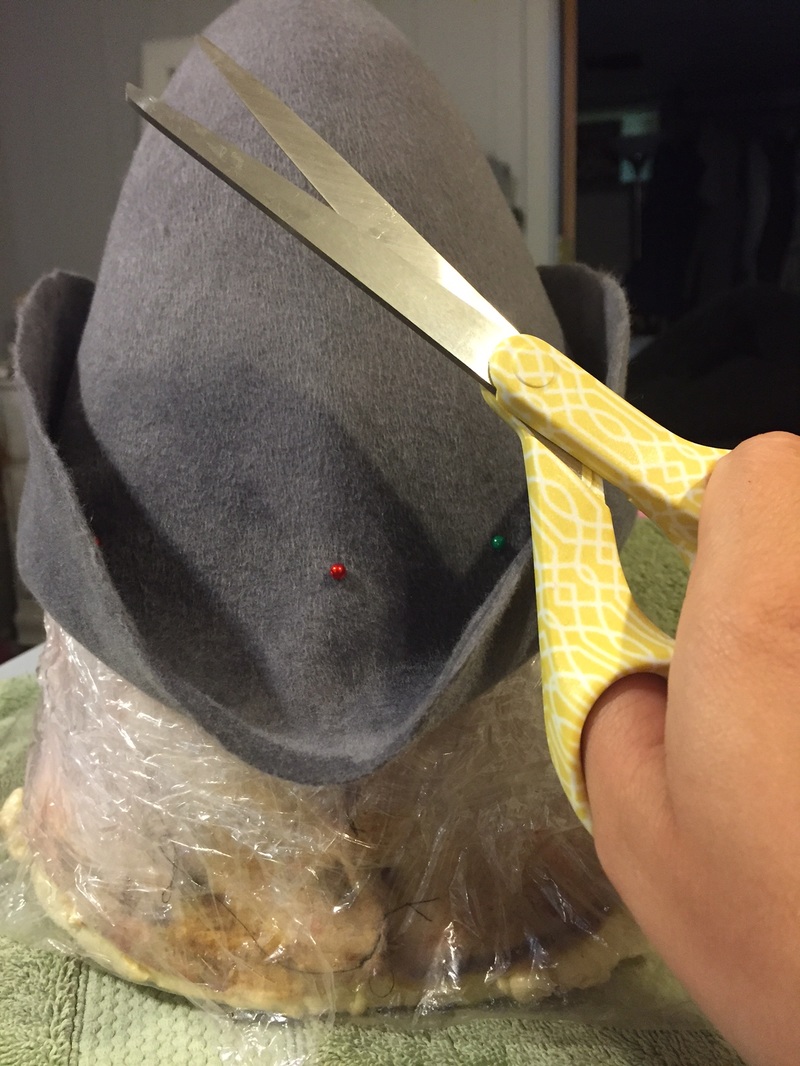
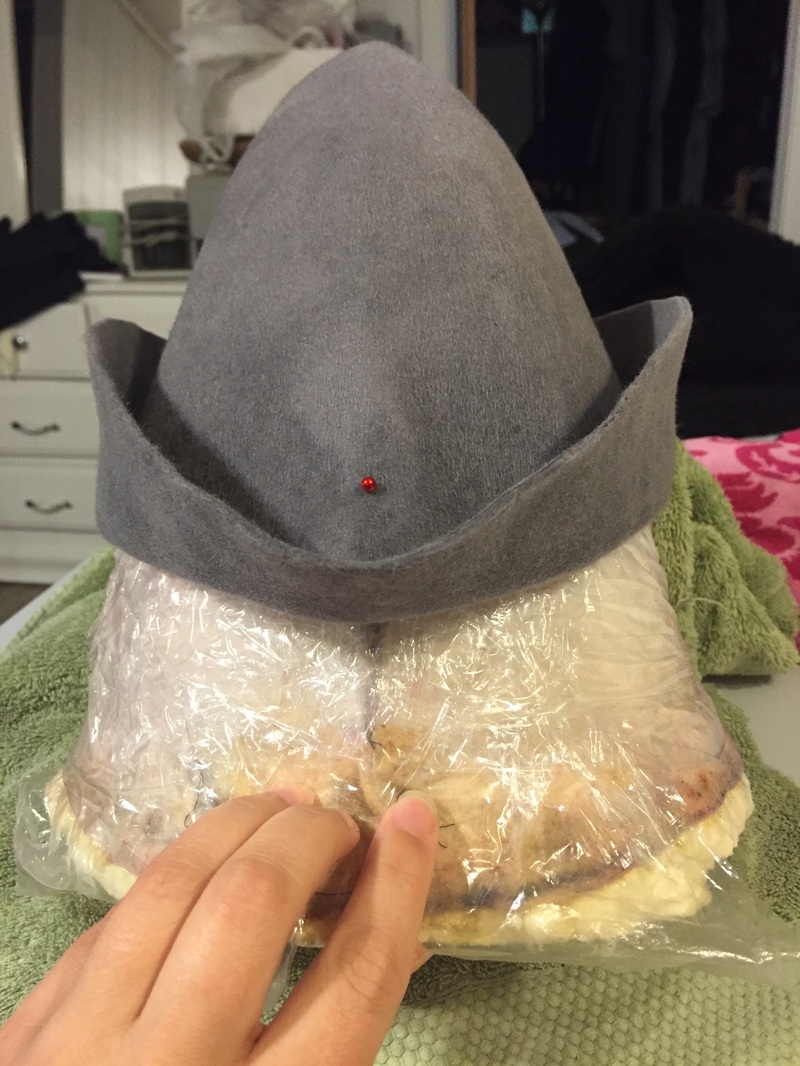
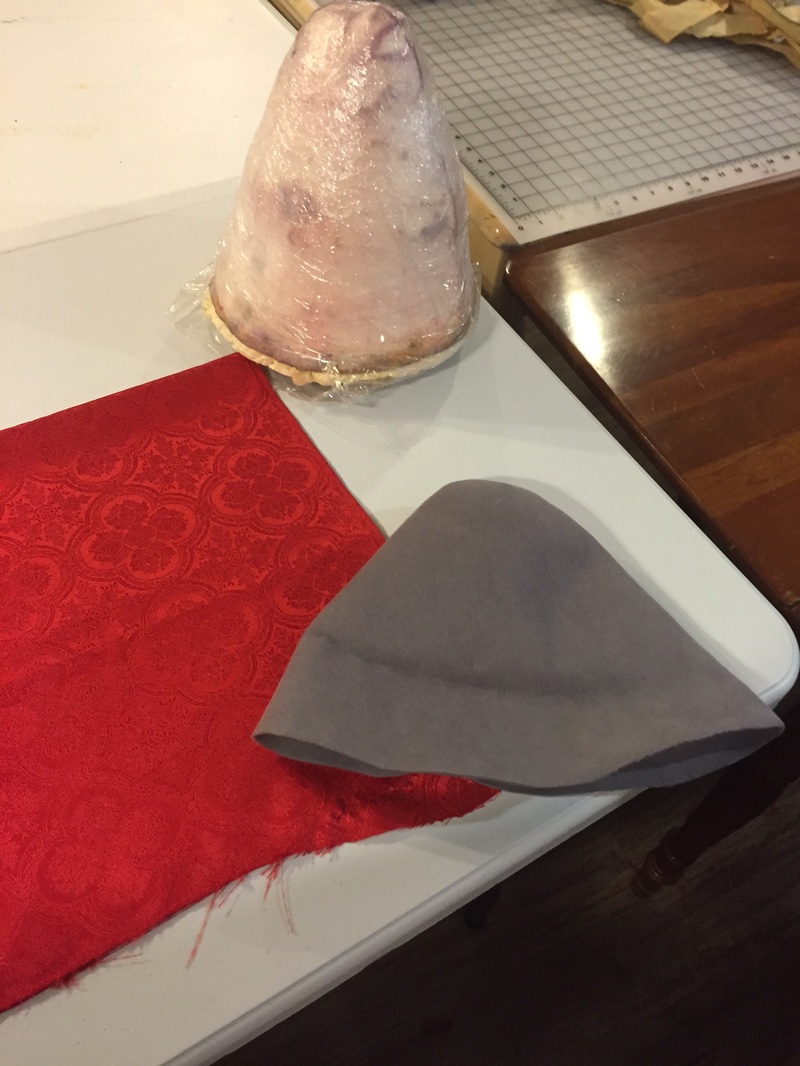
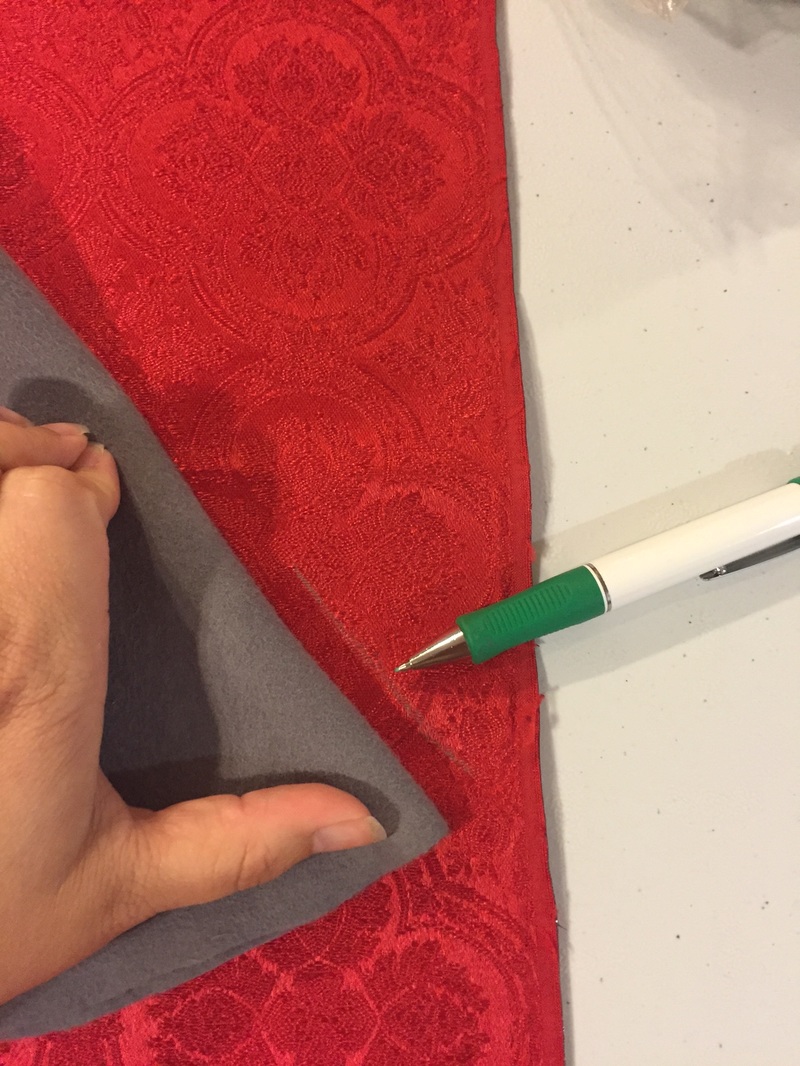
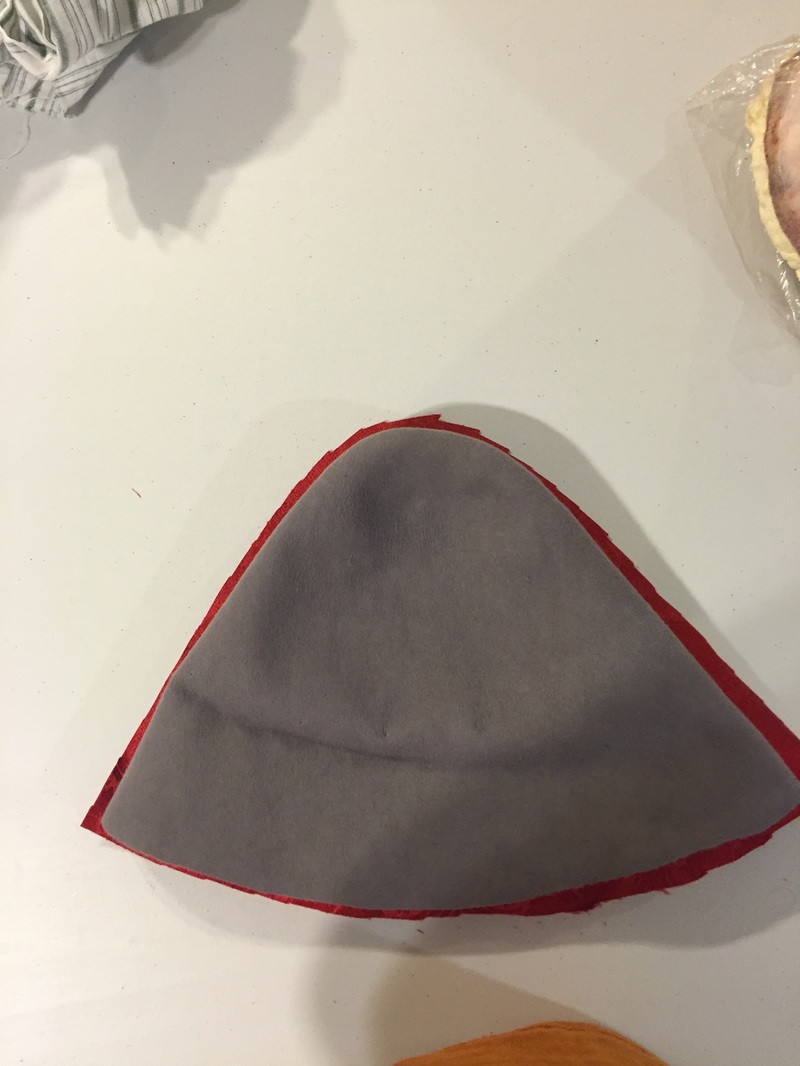
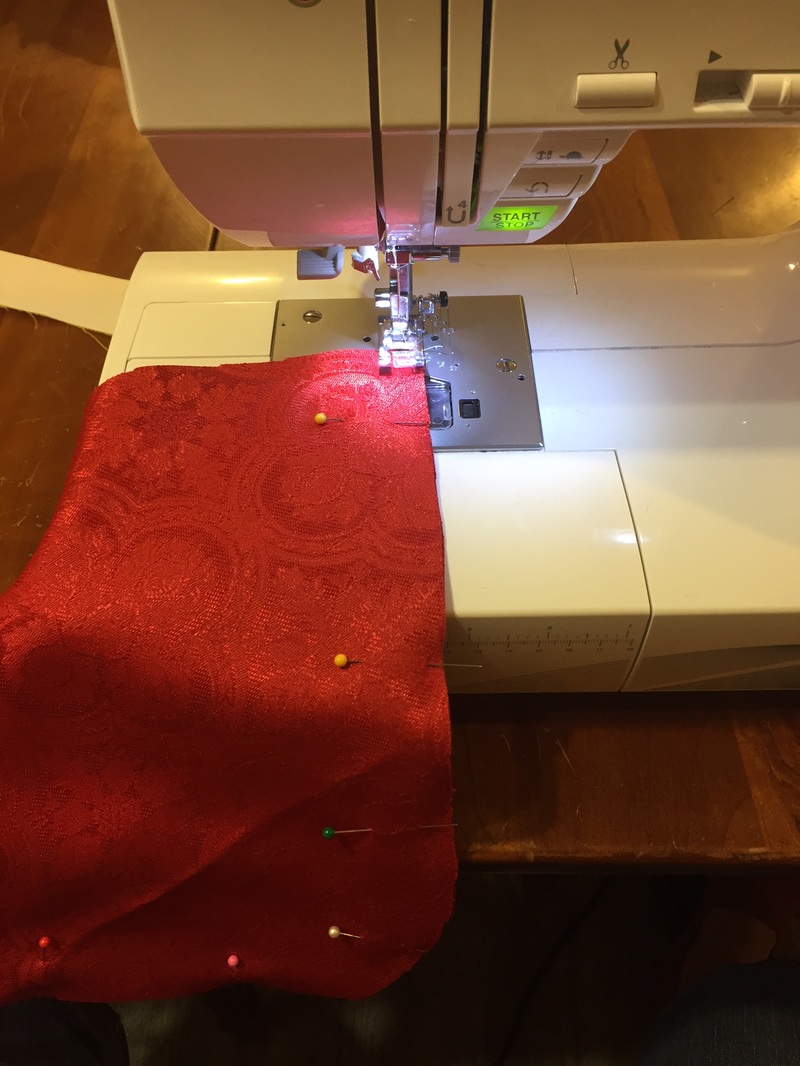
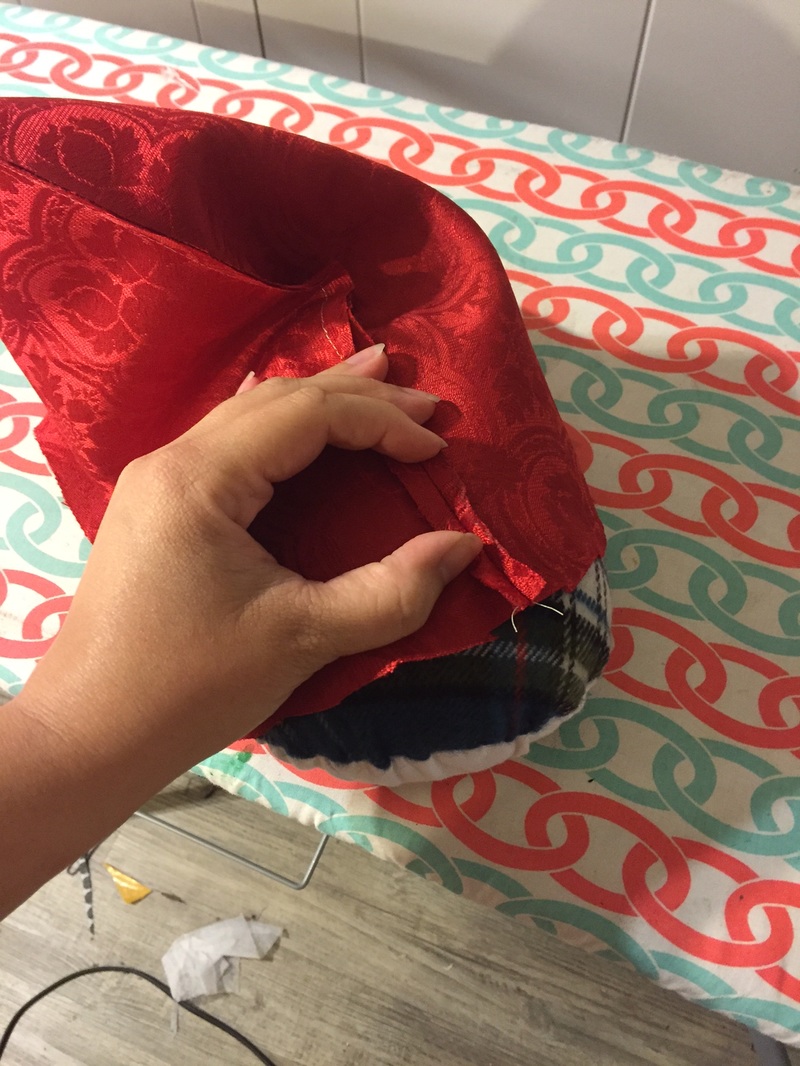
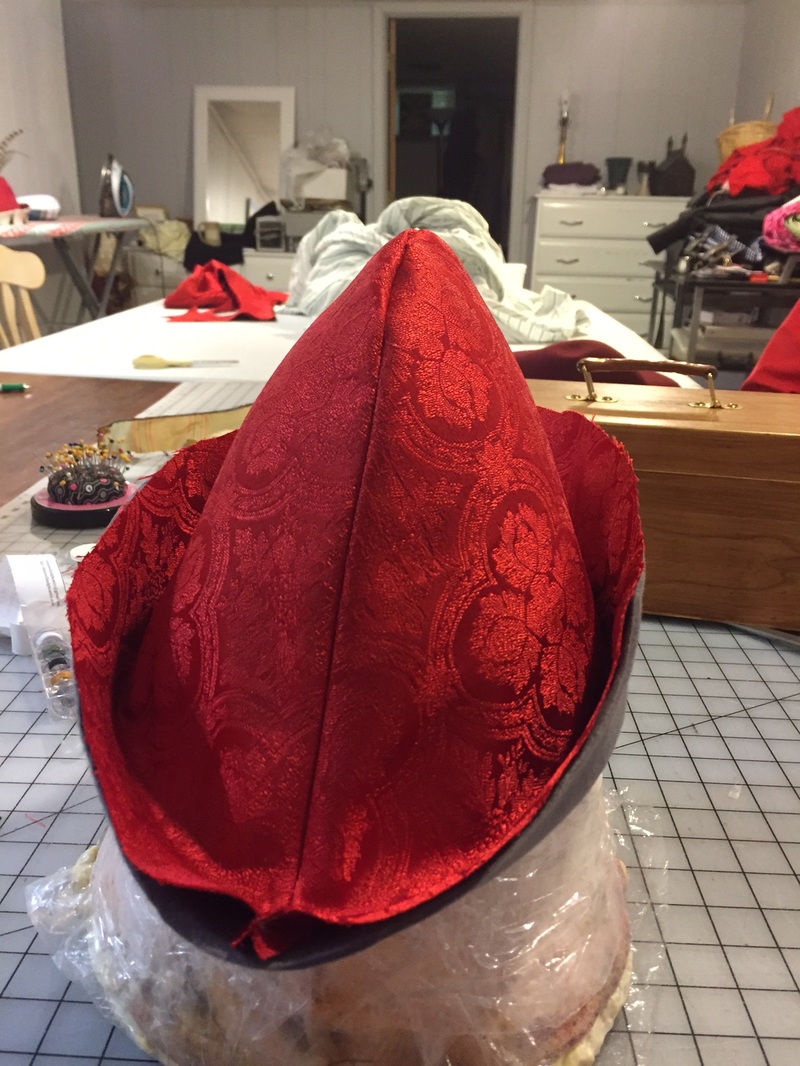
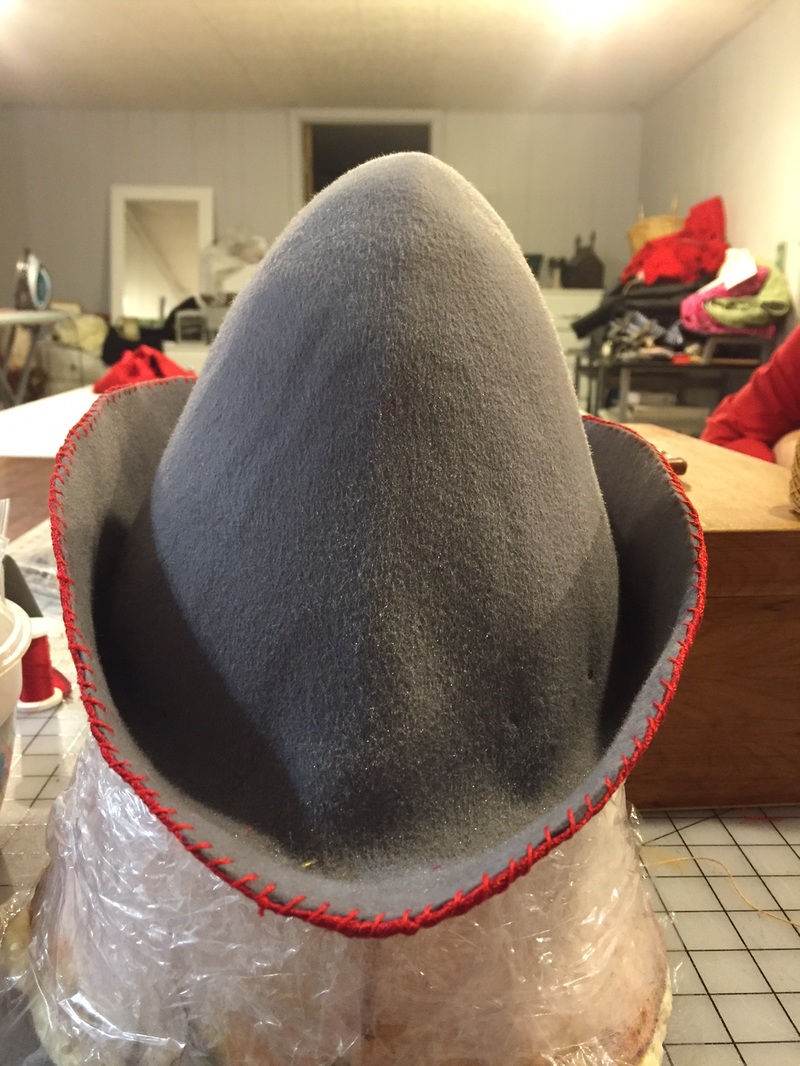
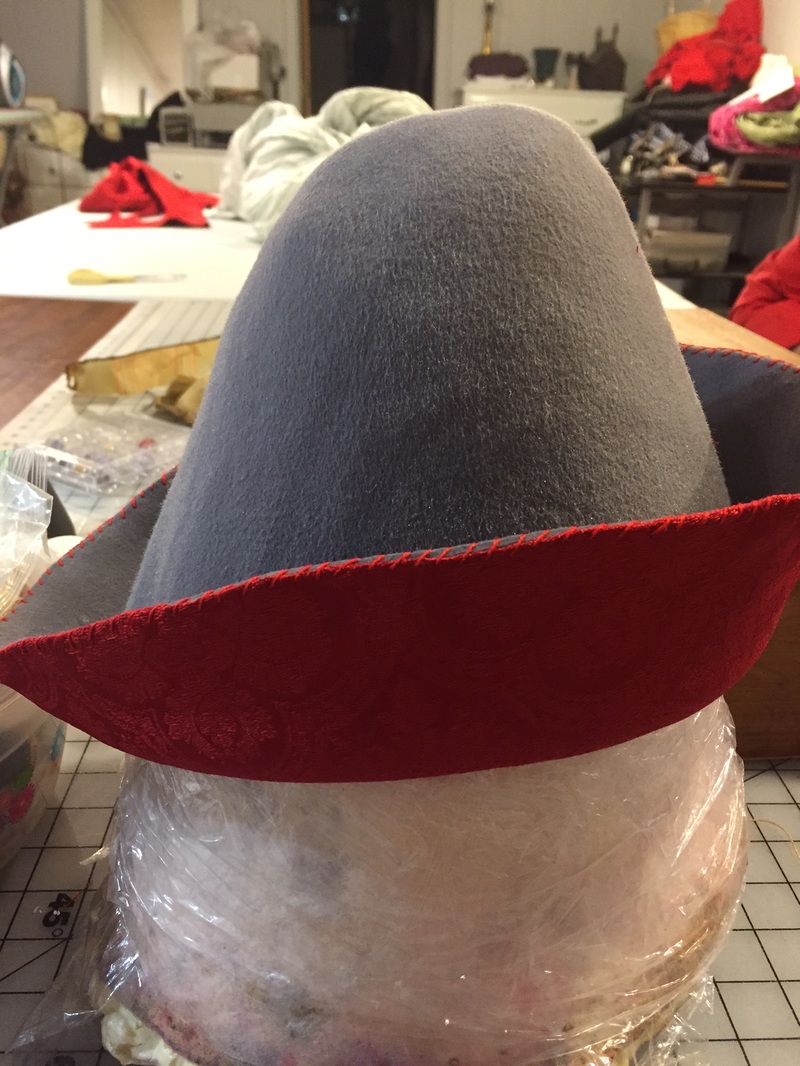
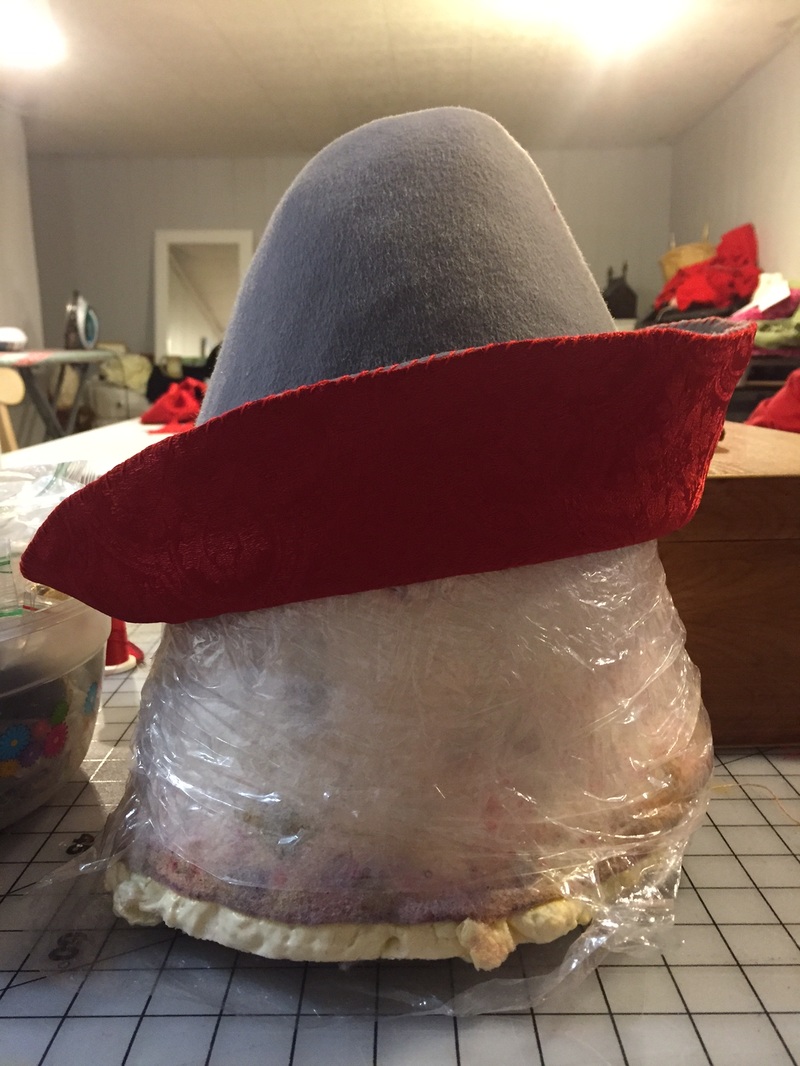
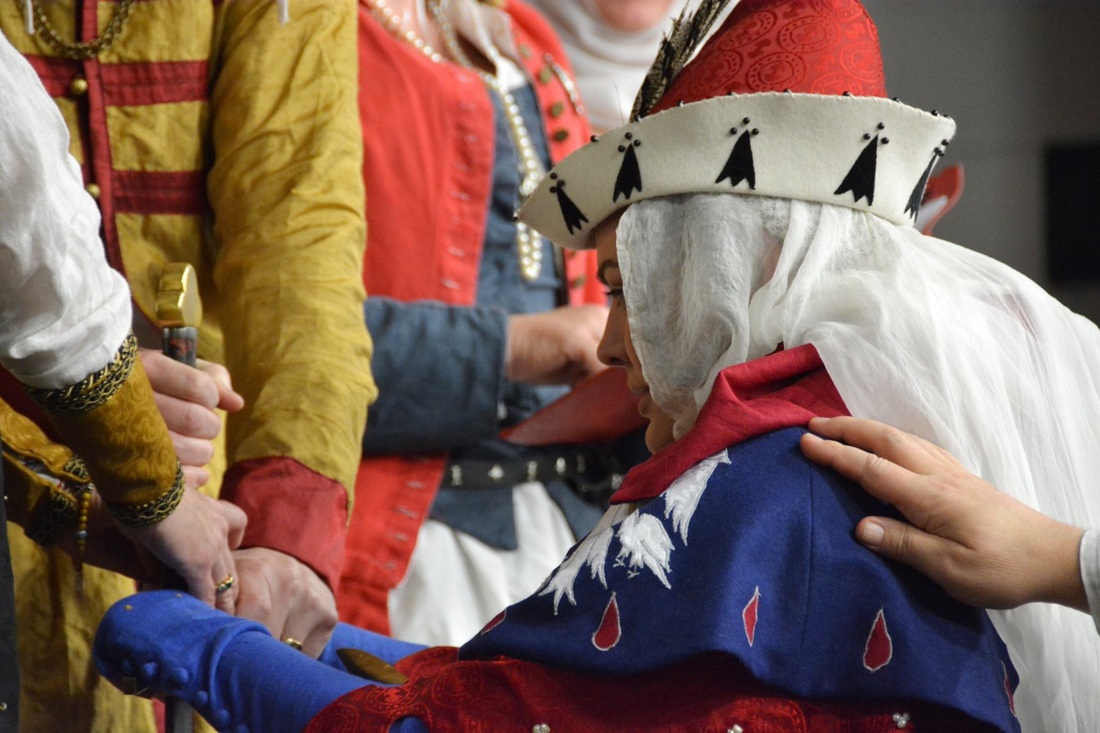
Photo by Marissa Von Atzinger

Photo by Marissa Von Atzinger
 RSS Feed
